Replacing your roof is a big project, but knowing what to expect can help reduce stress and make the process smoother. Whether you’re replacing an old, damaged roof or upgrading to a more durable material, it’s helpful to understand each step involved. Here’s a clear breakdown of what typically happens during a roof replacement project.
1. Initial Inspection and Estimate
- A roofing contractor will inspect your existing roof
- They’ll check for damage, structural issues, and the condition of the shingles
- You’ll receive an estimate with costs, materials, and a timeline
It’s important to ask questions and review all details before signing a contract.
2. Choosing Materials and Scheduling
- You’ll select the type of roofing material (asphalt, metal, tile, etc.)
- Colors and styles can be chosen to match your home’s design
- The contractor will schedule a start date based on weather and availability
Make sure everything is confirmed in writing, including warranties and cleanup plans.
3. Delivery of Materials
- Roofing materials will be delivered to your home, usually a day or two before the work starts
- Some items may be placed on the roof, while others are stored on the ground
- A dumpster may also be delivered for removing the old roofing material
Ensure there’s enough space in your driveway or yard for delivery and storage.
4. Removing the Old Roof
- The existing shingles and underlayment are removed
- This step can be noisy and messy, but it’s necessary for a proper replacement
- Contractors will inspect the decking underneath for any water damage or rot
Damaged wood will be replaced before new materials are installed.
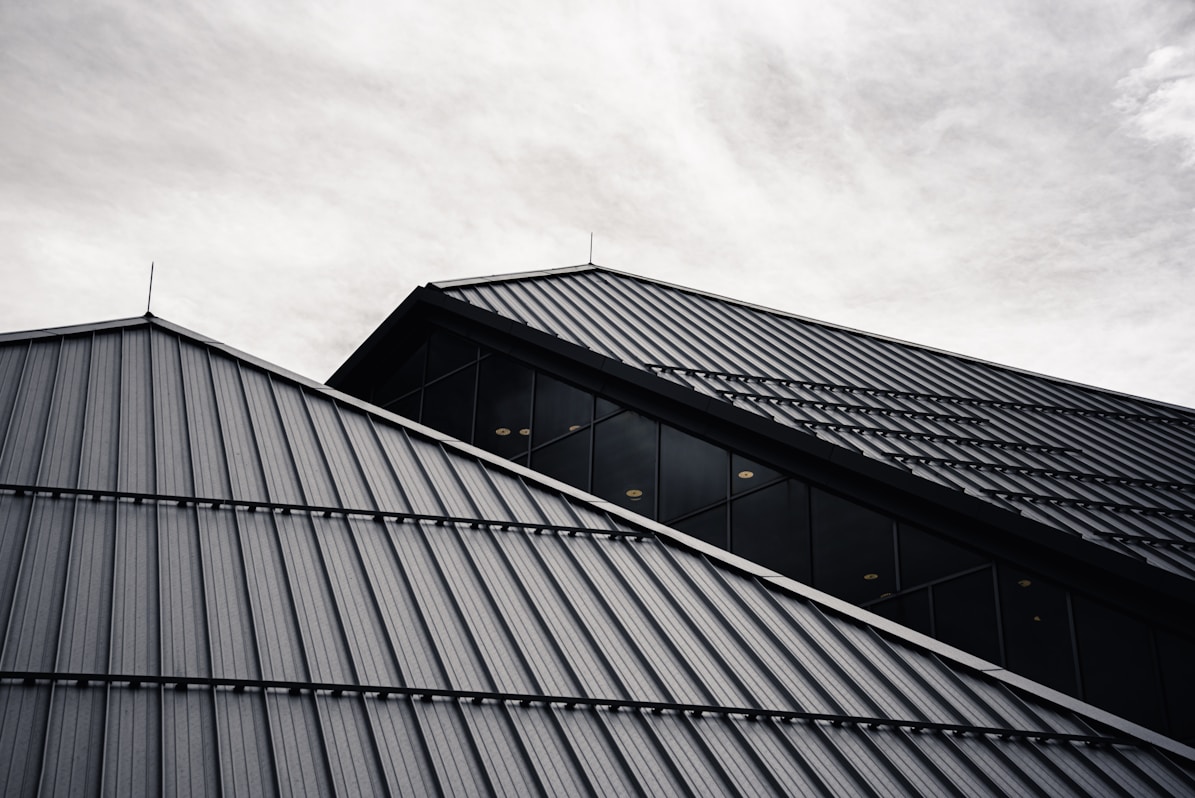
5. Installation of New Roof
- New underlayment and flashing are installed for waterproof protection
- Shingles or other roofing materials are laid down
- Vents, ridge caps, and sealants are added to finish the system
This phase usually takes one to three days, depending on the size of your roof and weather conditions.
6. Clean-Up Process
- All old materials and debris are removed from your property
- Nails and small pieces are collected using magnets or special tools
- Gutters and yards are checked and cleaned
A good contractor will leave your home as clean as they found it.
7. Final Inspection and Warranty
- A final inspection ensures the roof was installed correctly
- You’ll receive documentation of the work done and warranty details
- Some companies may schedule a follow-up to check performance
Keep all paperwork for your records, especially if you plan to sell the home.
Additional Tips During the Project
- Expect noise — roof replacement can be loud, especially inside the house
- Protect valuable items in the attic from dust or debris
- Keep pets and children away from the work area
- Inform your neighbors in advance about the project